Back in the day, when I was introduced to custom post types, I was looking for a way to organize my content better in the WordPress dashboard.
The solution I thought of at first was to separate them into categories, and when I’m looking for something, I could have used the category filter.
But that’s not an ideal solution because, at the end of the day, your content is still all in one place. If you want to get into technical details, it will make your life much more challenging if you’re going to write a custom query or retrieve a specific segment of your content.
Therefore, I introduced myself to how the WordPress post types work and how I can create custom ones.
What is a custom post type in WordPress?
In WordPress, a “post type” is a way to categorize different kinds of content. WordPress has several standard types of content, like blog posts and pages. A blog post is a regular article, while a page is for static content like “About Us”.
You can also create custom post types for your content. For example, if you have a website that sells things, you might have a custom post type for products.
Each type of content can have special features, like categories or extra fields for more information. This helps organize and show your content best for your website.
Create your custom post types.
Creating custom post types in WordPress can be done in two primary ways: by using a plugin or writing code in your theme’s functions.php file. Here’s a basic overview of both methods:
Using a Plugin
1 – Install a Plugin: Several plugins are available for creating custom post types. A popular choice is “Custom Post Type UI“. You can install it from the WordPress plugin directory.
When searching, it would show up like this:

2 – Create a New Post Type: After installing the plugin, you’ll find an option to create a new post type in the WordPress dashboard. You can specify your custom post type’s name, labels, and other settings through a user-friendly interface.
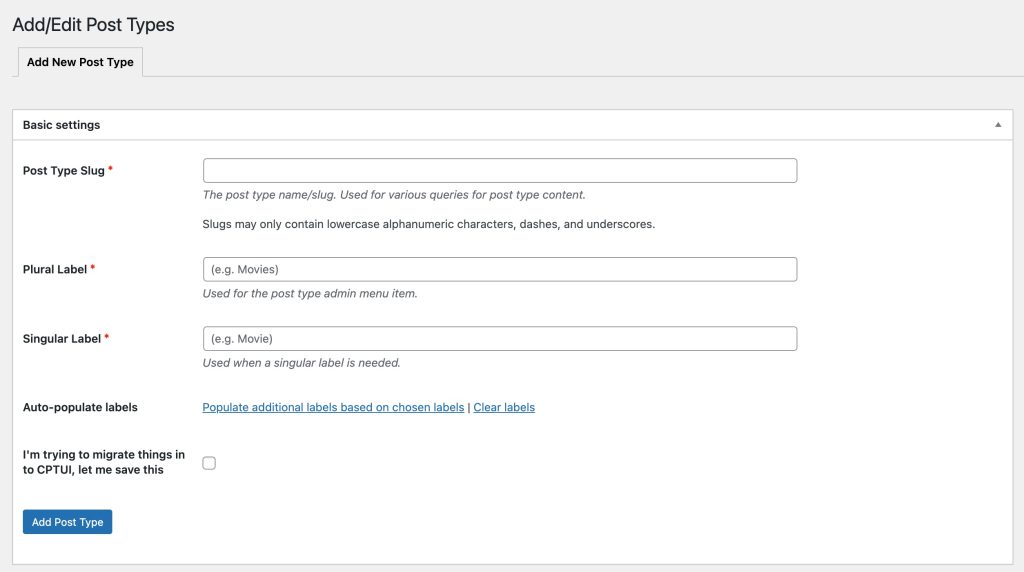
3 – Configure Settings: Set various options like whether the post type should have an archive, support comments, have a custom taxonomy (like categories or tags), etc.
Using Code in functions.php
1 – Edit functions.php File: Locate the functions.php file in your theme directory. Adding the code there is recommended if you’re using a child theme.
2 – Add Code for Custom Post Type: Insert a function to register your custom post type. Here’s a simple example:
add_action('init', 'create_my_custom_post_type');
function create_my_custom_post_type() {
    register_post_type('my_custom_post',
        array(
            'labels' => array(
                'name' => __('My Custom Posts'),
                'singular_name' => __('My Custom Post')
            ),
            'public' => true,
            'has_archive' => true,
            'supports' => array('title', 'editor', 'author', 'thumbnail', 'excerpt', 'comments')
        )
    );
}
This code creates a new post type called “My Custom Posts” with standard features like title, editor, etc.
- Adjust According to Your Needs: You can customize the function by changing the parameters like labels, public, and supports to fit your requirements.
- Save and Upload: After adding the code, save the functions.php file. If you’re editing it offline, upload it to your server.
Testing and Usage
- After creating the custom post type by plugin or code, you should see it appear in your WordPress dashboard.
- Test by creating a new post in your custom post type to ensure it works as expected.
Caution
- If you’re editing functions.php, back up the file before making changes.
- Custom post types created via the theme’s functions.php file will be gone if you switch themes. For a more permanent solution, consider creating a custom plugin.
Conclusion
Now that you have the tools to build custom post types, you can organize your content as you see fit.
Comments
There are no comments yet. You can be the first to let us know your thoughts!